My initial plan was not to fit a new spec dash, but while I was looking for parts for my FI conversion, I stumbled across a deal I couldn't refuse.
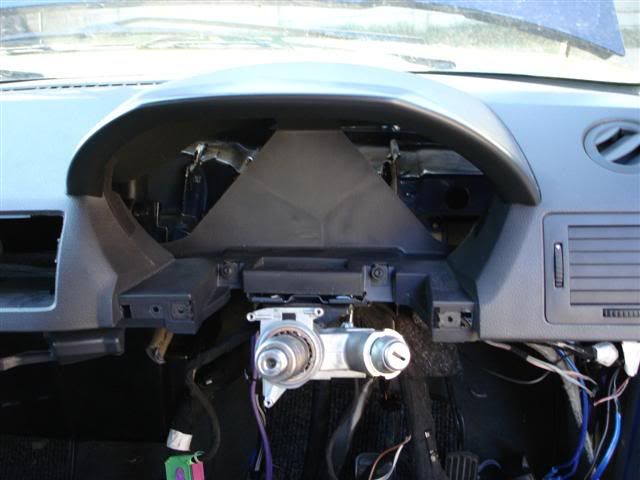
After getting the new dash, the first step was to strip the old dash... this was pretty simple because I had done it a couple of times already.
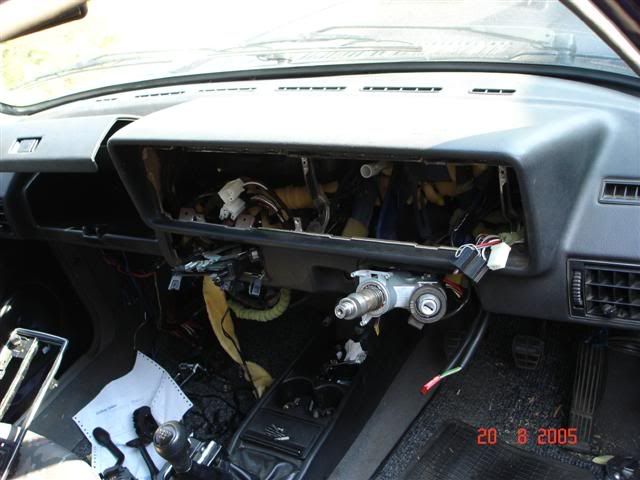
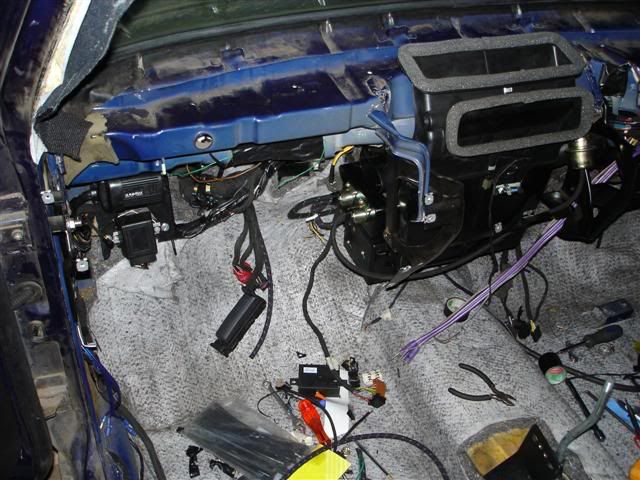
Once the dash was removed, all that was left was the wiring harness and the heater box.
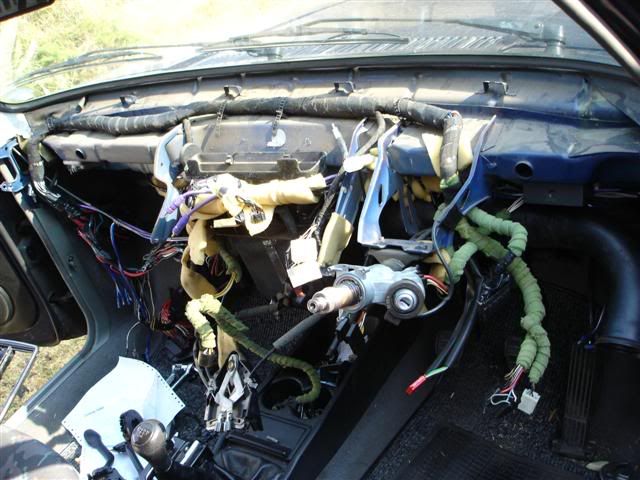
Removing the old harness was quite a mission because I had to disconnect the alarm and central locking wires from the harness without messing them up completely. As is always the case with wiring, this ended up being very time consuming.
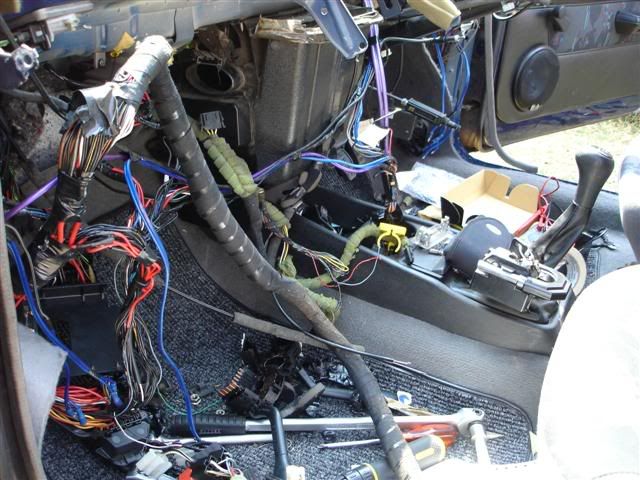
After about 2 hours, the old harness was finally out and I threw it as far as I could (well not really seeing as it landed right next to the car)
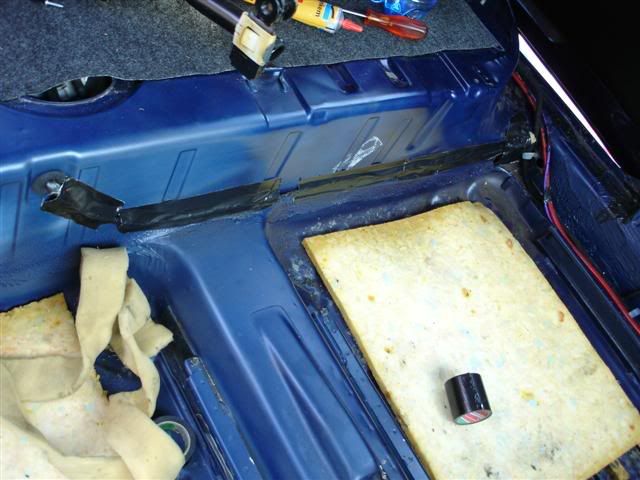
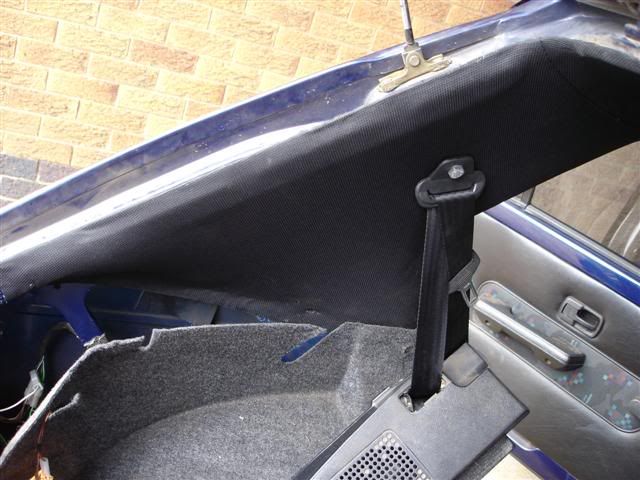
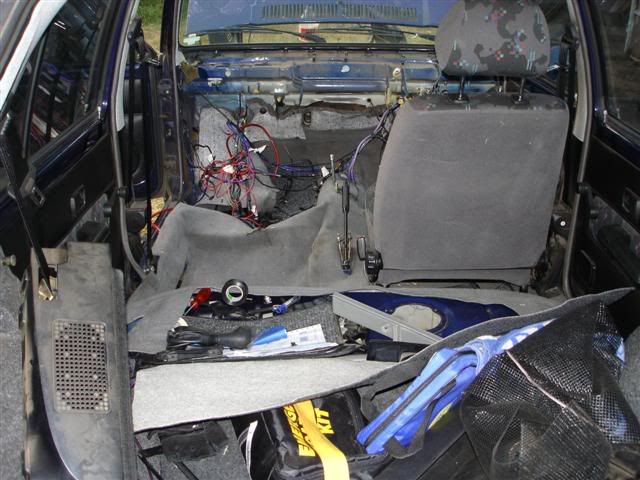
Then the passenger seat started getting in the way so I took that out and while I was at it I also pulled the old heater box out. As you can see I also had to strip the back of the car to get the old harness out.
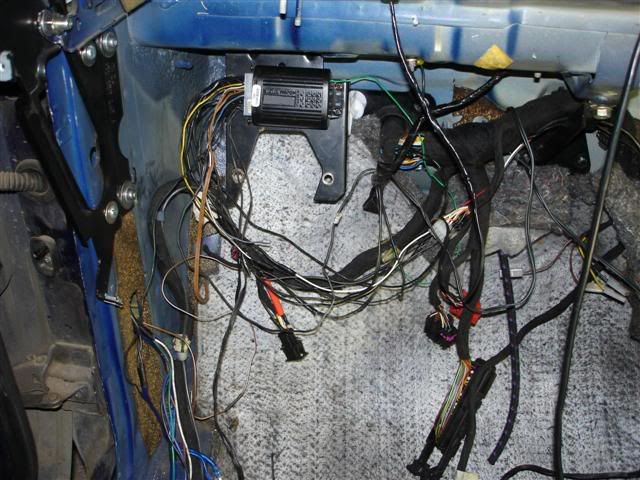
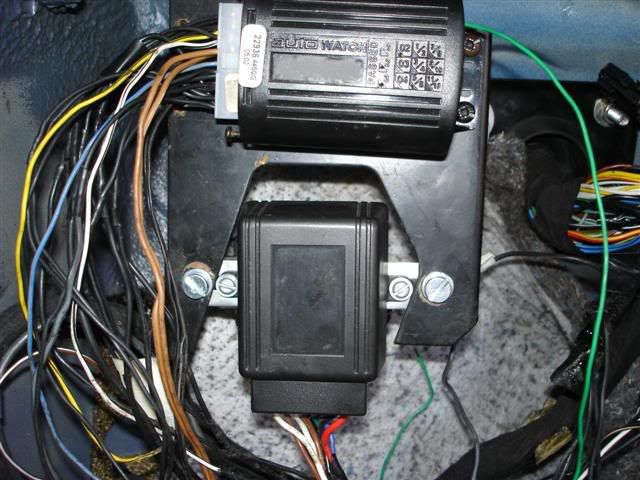
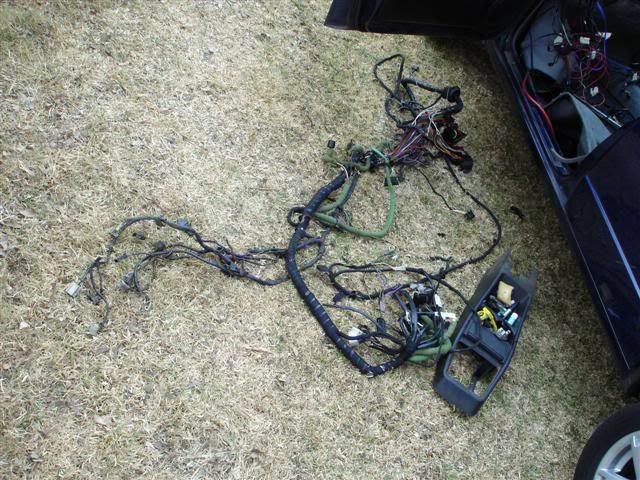
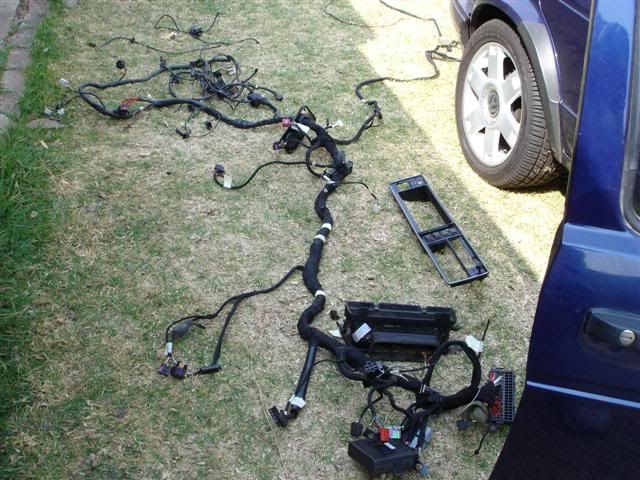
Just when I thought that was the end of the wiring, I walked around to the other side of the car and realised I still had to fit the new harness. Notice it has quite a bit more cable than the carb harness. BTW this is an MP9 harness for the new spec dash. The MP9 harness for the old spec dash will obviously not work. That big black box you see at the bottom of the picture is the dash control box and without that nothing on the dash or cluster will work. These boxes are not coded to a specific dash (like the transponders are) so any box will work with any new spec dash.
After removing all traces of the old dash, it was time to test fit the new wiring harness to see which route would be best. I must admit this was a really crap part to do and it took a while to finally find the right route. Once again, things got a bit messy.

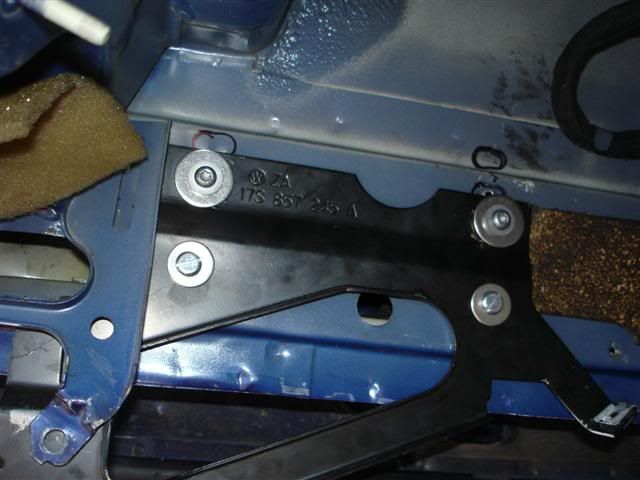
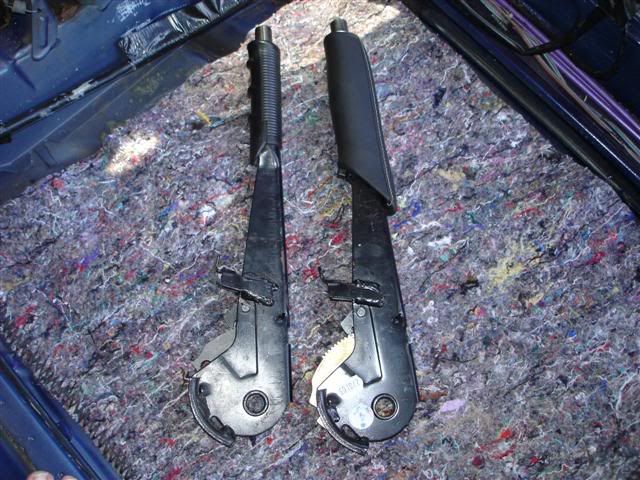
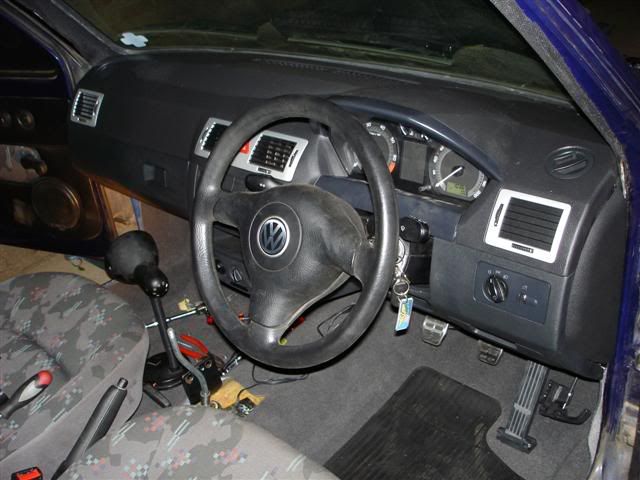
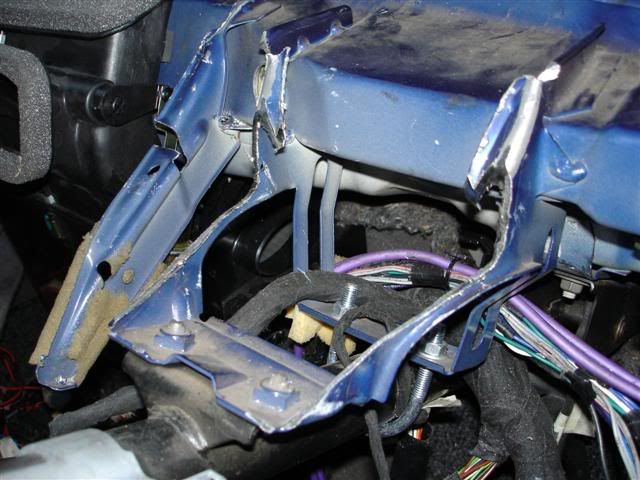
Now to fit a new spec dash to a Citi that came with the old dash, you have to make some minor modifications. The first one being the steering column support that need to be made lower otherwise the dash sits way too high (it touches the windscreen). I first cut some slots and tried to bend the supports down, but that didn't work too well, so out came the angle grinder.
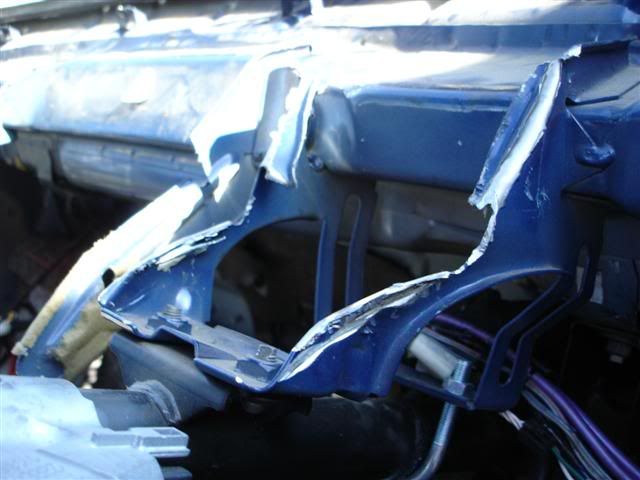
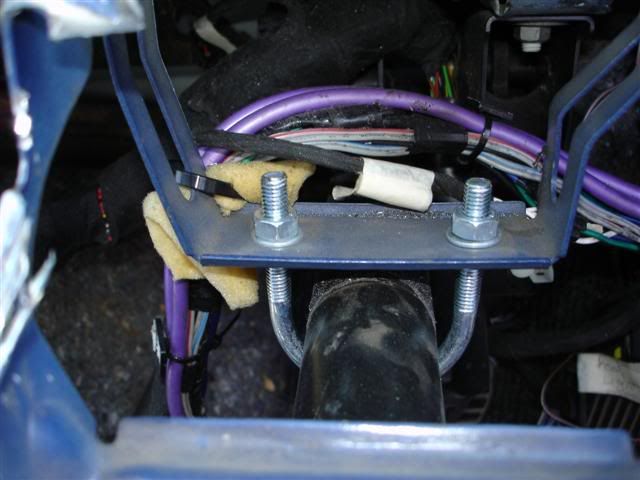
Now it is not the best thing to mess around with the supports on your steering column because if you grind alot away, the supports might break and your steering column could drop. So to prevent this and provide more support, I fitted a U bolt for support.
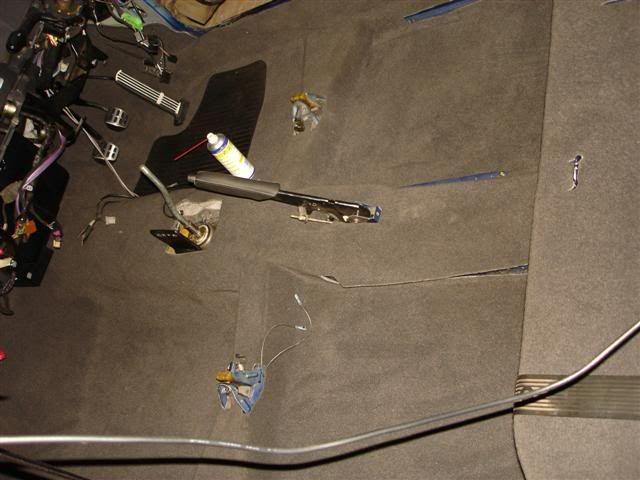
After the initial grinding of the steering colum support, I test fitted the dash to see if the amount I took off was sufficient.
But I wasn't happy with the way the dash was sitting so I took it out and took some more off the supports. After a couple more re-fittings I finally got the dash to sit how I wanted it to. Notice how much needs to be taken off the supports.
Then I decided to start sorting out some of the wiring that was cut when the guys pulled the harness out the donar car. These included most of the earth wires and the fuel pump and fuel gauge sender wires. Luckily I did electronics in school so wiring and soldering don't phase me.
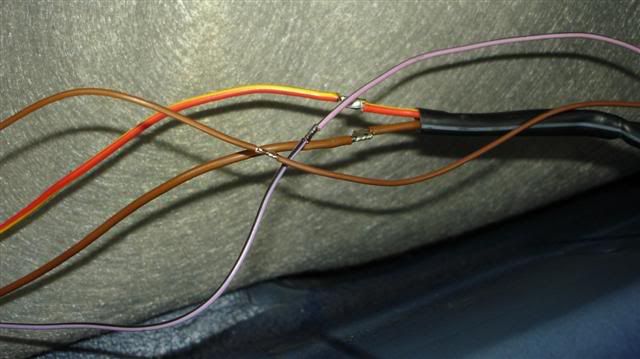
Fuel pump and fuel gauge sender wires
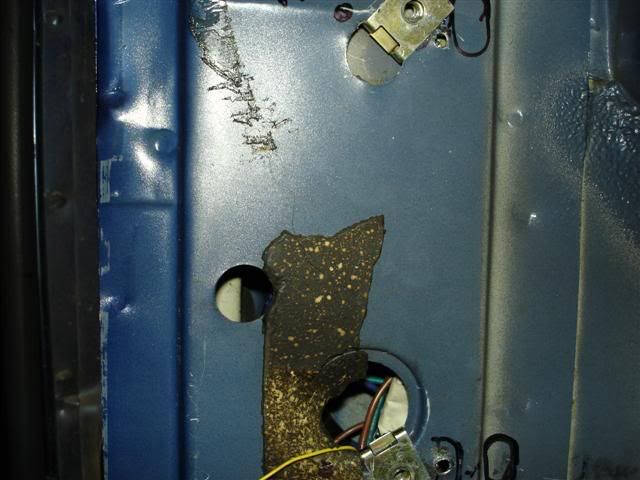
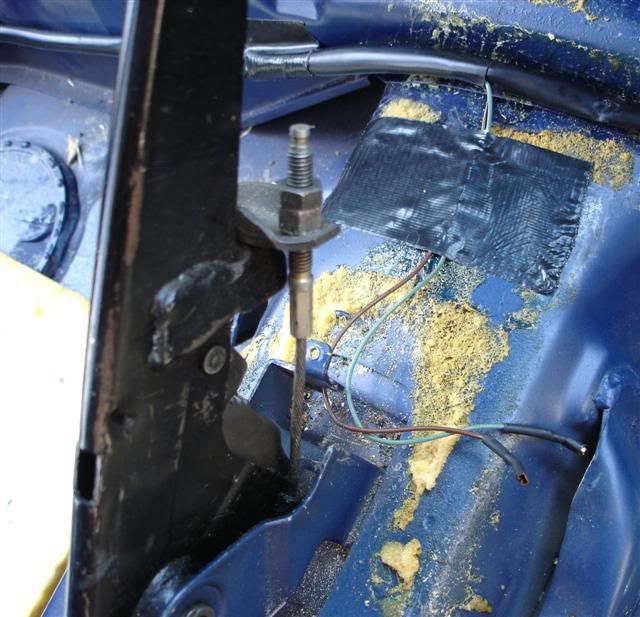
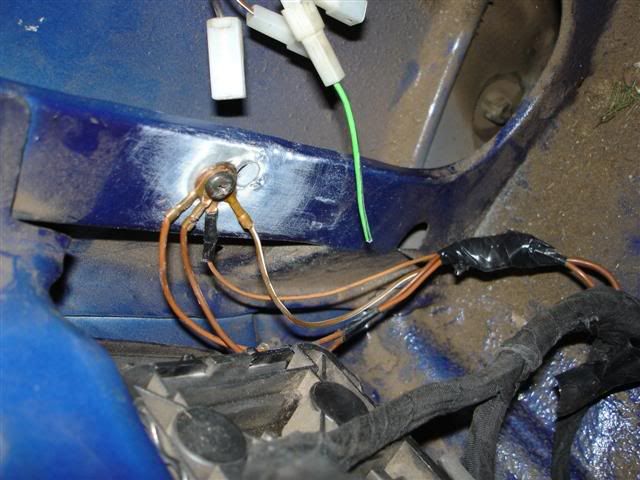
Earth point at the back of the car (yes I made sure it was making proper contact)
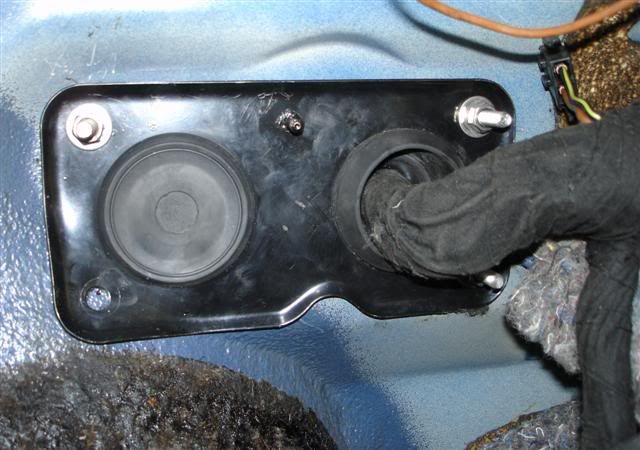
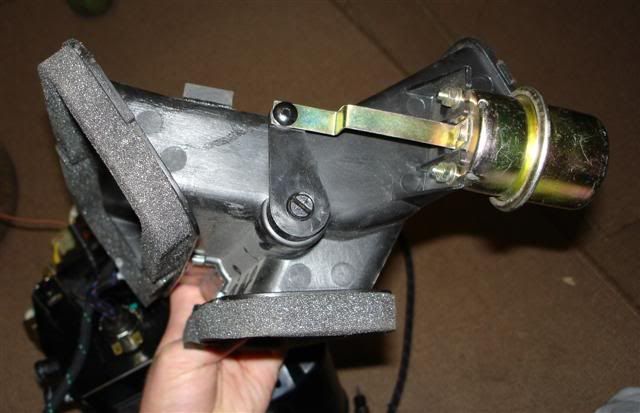
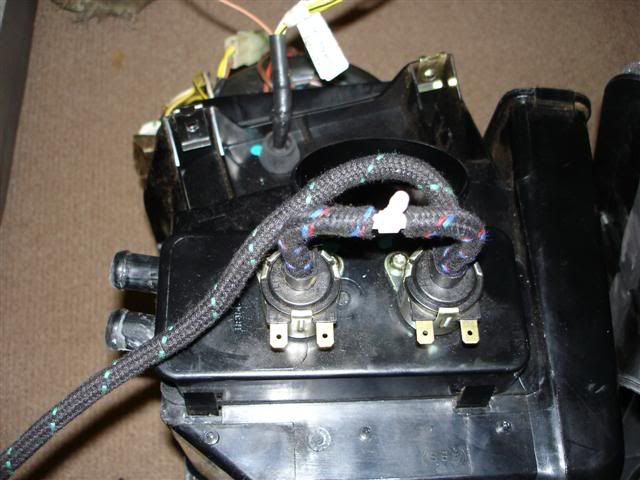
With the new spec dashes, the flaps in the heater box that control the direction of airflow are not moved by sliders and cables like the old dashes, they are now moved by vacuum. Here you can see the vacuum units on the top piece of the heater box and on the bottom of the heater box, as well as the 2 vacuum solenoids that are controlled by the rotary knobs on the dash.
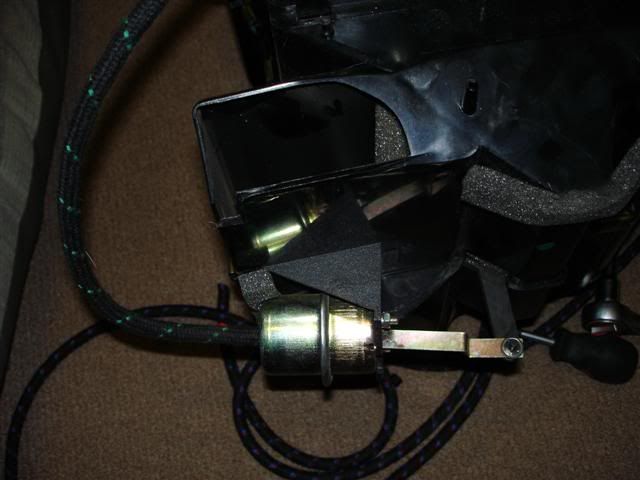
The 2 vacuum solenoids and the vacuum piping that took me a while to figure out.
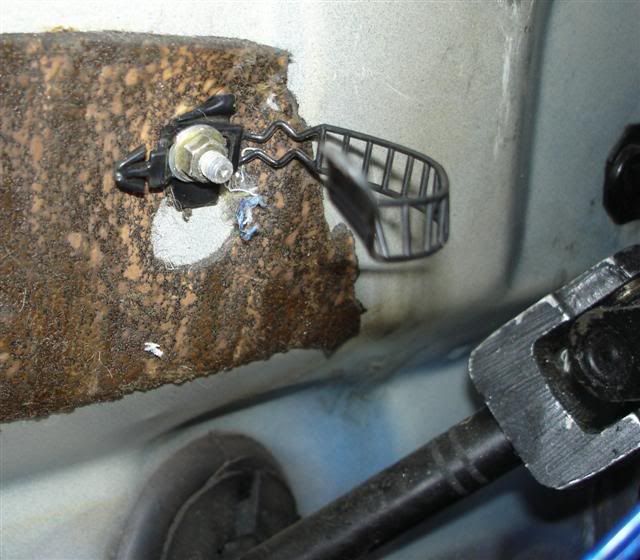
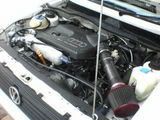
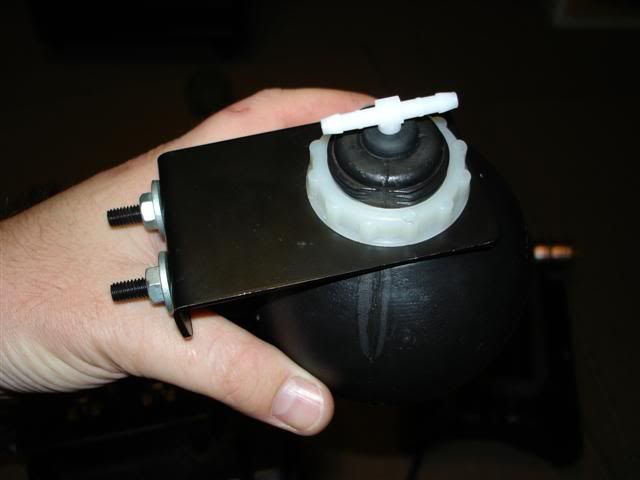
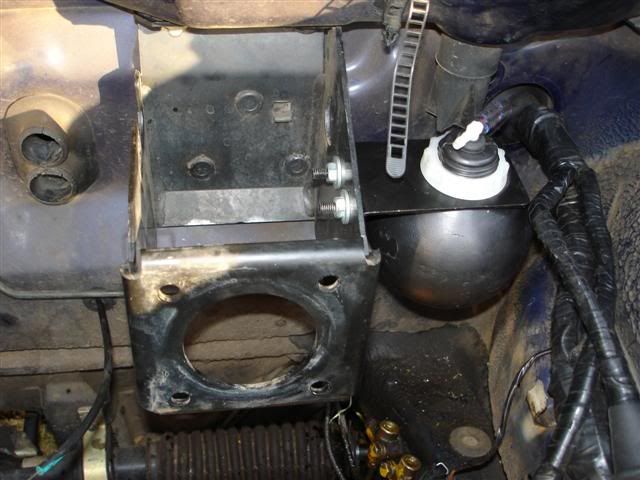
Then inside the engine bay you have to fit this funny ball-type thing which is actually a vacuum reservoir. This resevoir is connected to the inlet manifold and when you start the car, all the air gets sucked out of the ball, creating a vacuum inside the ball. This means that the idling is not affected when the heater box flaps are moved and it also means that you can move the flaps a few times when the car is off (until the vacuum in the ball is depleted)
That is all I can post for now... need to get some work done... I will post the rest tonight.
Enjoy.